If you’re looking for a roof that offers curb appeal, durability, and long-term value, tile is one of the top choices available. Whether you’re building a new home or upgrading your current one, understanding the tile roof installation process will help you make informed decisions. For homes in places like Miami and surrounding areas, tile roofs also add lasting storm protection and heat resistance, especially when installed on top of a well-prepped roofing system.
In this blog, you’ll learn:
- Why tile roofing is a long-term investment
- The full installation process step-by-step
- What materials and prep work are involved
- Tips for Florida homeowners planning a tile roof project
Why Tile Roofing Is a Smart Long-Term Choice
A properly installed tile roof can last 50 years or more. It’s one of the most dependable and aesthetically appealing options in Florida thanks to its heat resistance and high wind ratings.
- Durability: Clay and concrete tiles can withstand wind, rain, and UV rays for decades.
- Energy Efficiency: Tile roofs reflect heat and allow airflow, lowering cooling costs.
- Resale Value: Tile boosts curb appeal and may increase home value significantly.
- Low Maintenance: Aside from occasional inspections and minor repairs, tile systems require little upkeep.
- Hurricane Resistance: Tile systems, when installed properly, can meet or exceed Miami-Dade wind uplift requirements.
With these benefits, it’s no surprise that more homeowners in Miami and surrounding areas are turning to tile as a premium roofing upgrade.
8 Steps to a Proper Tile Roof Installation
Tile roofing isn’t just about laying down beautiful tiles—it’s a layered system that requires expertise, precision, and quality materials.
1. Roof Inspection and Tear-Off
The first step is assessing the condition of your current roof. If an old roof is in place, it must be completely removed down to the decking.
- Inspect for signs of moisture damage or rot
- Remove old shingles, underlayment, and flashing
- Dispose of old materials safely
2. Decking Repairs and Reinforcement
Once exposed, the wood decking (typically plywood or OSB) must be inspected for structural integrity.
- Replace any damaged or soft decking
- Ensure the structure can support the heavy weight of tile (up to 1,000 lbs per square)
- Reinforce if needed based on local building code
3. Install Underlayment
Underlayment is the waterproof membrane that protects your home from moisture before the tiles are installed.
- Use peel-and-stick waterproofing in valleys and edges
- Apply a synthetic or felt underlayment across the field
- Ensure seams are staggered and properly overlapped
This is a critical step, especially for Miami and surrounding areas where rain and humidity are high.
4. Add Flashing and Drip Edge
Next, metal flashing is added around penetrations, walls, and valleys to prevent leaks.
- Install metal drip edge around the perimeter
- Flash all chimneys, vents, and skylights
- Secure flashing with corrosion-resistant fasteners
5. Batten System or Direct Application
Depending on the tile type and regional requirements, your roofer will either install battens or use direct-to-deck attachment.
- Battens: Wood or metal strips nailed to the roof that tiles rest on
- Direct: Tiles attached directly to the underlayment with nails or screws
Both methods are code-approved in Florida but have different benefits.
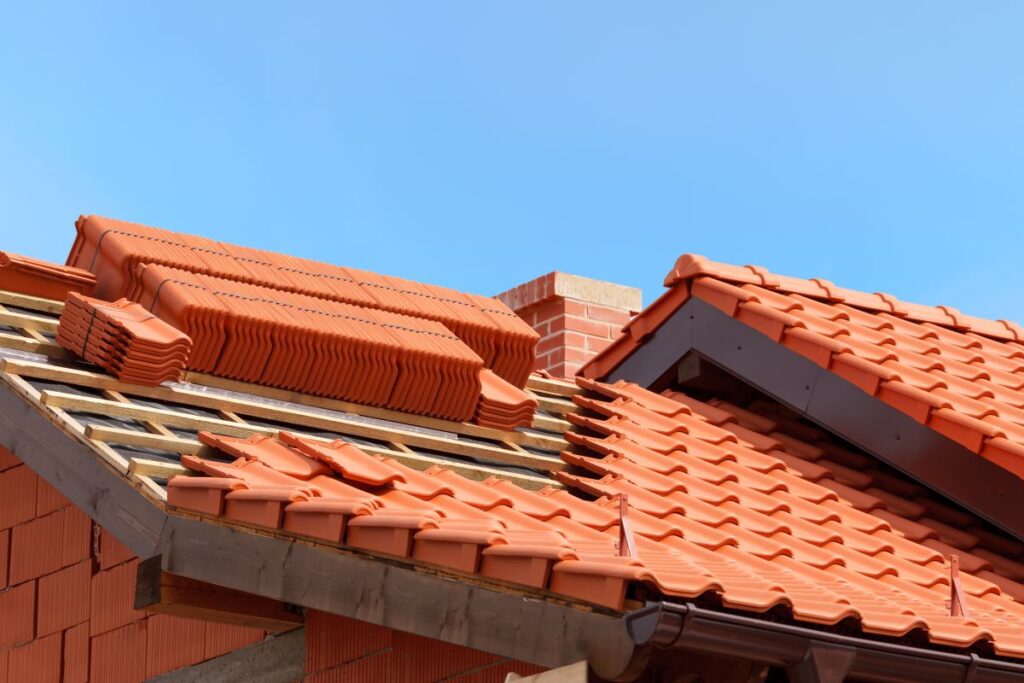
6. Tile Layout and Cutting
Before setting the tiles, the roofer lays out rows and cuts edge pieces to fit.
- Use chalk lines for straight alignment
- Cut tiles with diamond blades for precision
- Dry-fit around valleys and hips before fastening
Tile layout requires experience to ensure water drains correctly and the pattern looks clean.
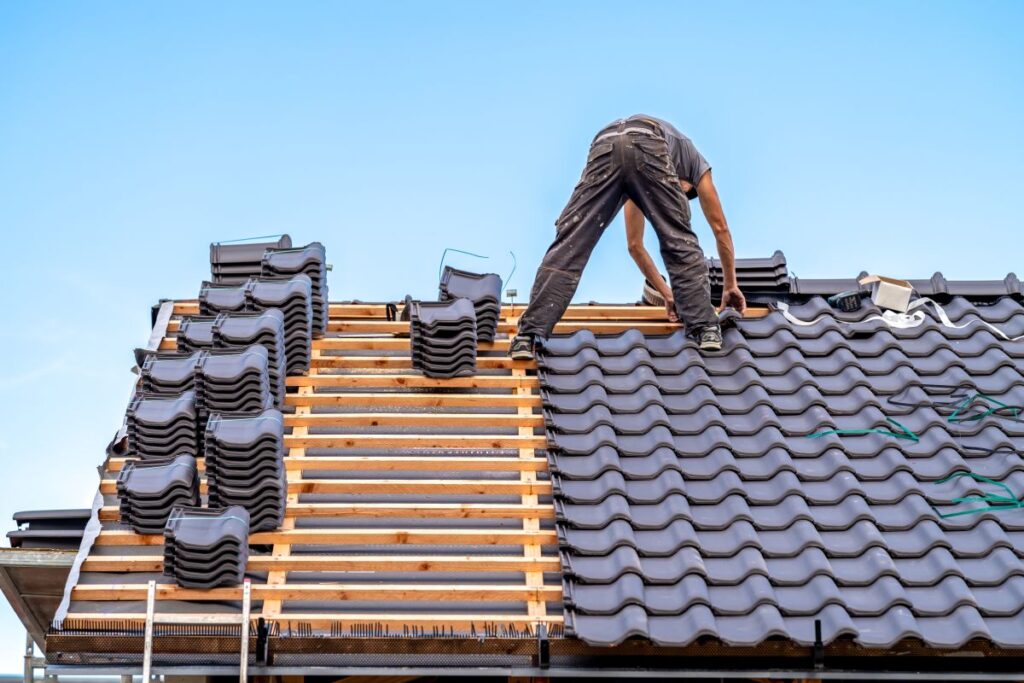
7. Fasten and Secure Tiles
Now comes the most visible step—installing the tiles.
- Nail or screw tiles based on the type (concrete, clay, or composite)
- Use foam adhesive or clips in high-wind zones
- Install ridge caps and hip tiles with mortar or adhesive
This step takes the longest but brings the aesthetic appeal to life.
8. Final Inspection and Cleanup
Once installation is complete, the job is far from over.
- Inspect for loose or uneven tiles
- Test flashings and valleys for potential leak paths
- Clean debris from gutters and remove waste from the property
A final inspection ensures your new tile roof is code-compliant and weather-ready.
Types of Roofing Tiles to Consider
Not all tile is created equal. Choosing the right material depends on your goals, aesthetic preferences, and budget.
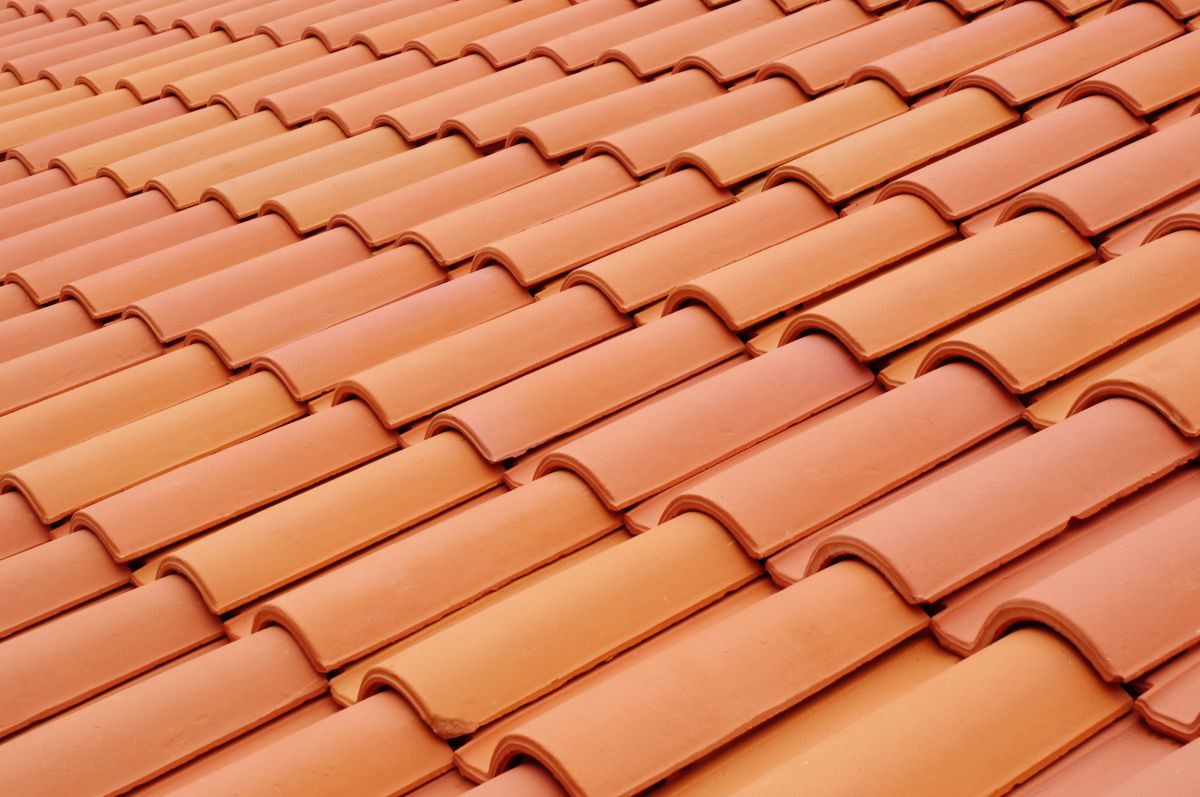
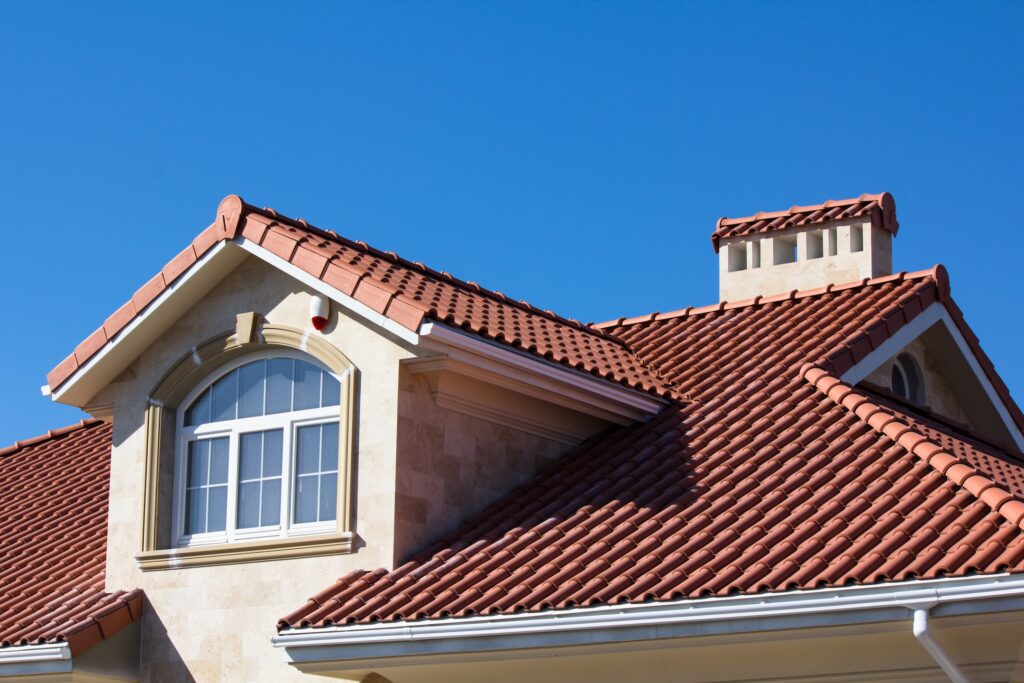
Clay Tiles
- Traditional Mediterranean style
- Excellent color retention
- Can last 50–100 years
- Higher cost and heavier weight
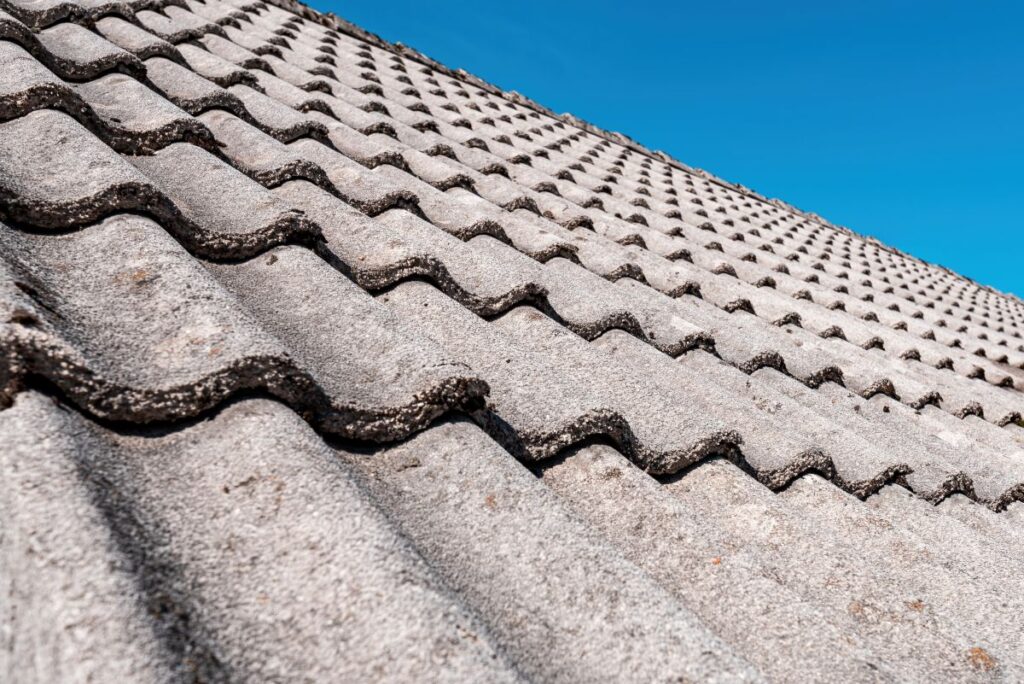
Concrete Tiles
- Most popular choice in Florida
- Less expensive than clay
- Mimics wood shake or slate appearance
- Lasts 40–75 years
Composite/Plastic Tiles
- Lightweight alternative
- Made from recycled materials
- Simulates slate or clay
- Less common in high-wind zones
Slate Tiles
- Natural stone look
- Extremely durable
- Very heavy and expensive
- Typically used in luxury homes
In Miami and surrounding areas, concrete tiles are the most common due to their price and performance balance.
Cost & Value: Is Tile Roofing Worth It?
Tile roofs are a higher upfront investment, but their longevity and performance often make them the better long-term choice.
| Feature | Asphalt Shingle | Concrete Tile | Clay Tile |
| Avg Lifespan | 15–25 years | 40–75 years | 50–100 years |
| Cost per sq. foot | $3–$5 | $7–$10 | $10–$14 |
| Maintenance | Moderate | Low | Low |
| Energy Efficiency | Low | High | High |
| Hurricane Performance | Moderate | Excellent | Excellent |
Many Florida homeowners recoup the higher initial costs through insurance discounts, reduced cooling bills, and higher resale value.
Regional Considerations for Florida Homeowners
Living in places like Miami and surrounding areas means your roof faces:
- High winds: Look for tile systems with wind uplift resistance ratings
- Heavy rainfall: Proper underlayment and flashing are critical
- Salt air: Use corrosion-resistant nails and flashing
- Sun exposure: Choose UV-resistant colors and coatings
Also, work with licensed contractors who understand local building codes. In hurricane-prone zones, roof systems must meet Miami-Dade or Florida Building Code standards.
Final Thoughts: Is Tile Right for You?
A tile roof installation is a commitment to durability, beauty, and performance. While it requires more structural support and a bigger upfront investment than asphalt shingles, the rewards are long-lasting.
From classic clay to modern concrete, tile is a smart upgrade for homeowners who want their roof to last decades with minimal upkeep.
If you’re ready to upgrade your home in Miami or surrounding areas, contact us today for a professional evaluation and quote from the team at Roofing Pros USA. Our specialists are experienced in tile systems and local code requirements, ensuring you get a roof built to last.
