If you’ve recently experienced a storm and now notice dents, cracks, or missing shingles, you might be facing hail damage roof repair. This isn’t just a cosmetic issue—left unchecked, it can lead to serious water damage, insulation problems, and structural issues. Knowing what to look for and how the repair process works can help you avoid bigger (and more expensive) issues later. Whether you’re dealing with small dings or more obvious damage, understanding your options is crucial. Our team can help guide you every step of the way, especially when it’s time to evaluate your roof’s condition and explore solutions like roof decking upgrades.
- How to spot hail damage on your roof and gutters
- Why timing matters when filing insurance claims
- A full step-by-step breakdown of the repair process
- When to repair vs replace hail-damaged shingles
- Tips for choosing the right roofing contractor
Why Hail Damage Deserves Immediate Attention
Hail may only last a few minutes, but the impact can linger for years. Many homeowners in Fort Pierce and surrounding areas don’t realize they have hail damage until leaks or insulation issues surface. Understanding the urgency helps you act quickly—and prevent further complications.
- Insurance Claim Deadlines: Most policies have time limits for filing hail damage claims. Waiting too long can mean missing out on coverage.
- Hidden Moisture Issues: Even small dents or cracked shingles can allow water to seep in, causing mold or rot in the attic and roof deck.
- Resale Value Protection: A hail-damaged roof can reduce your home’s value or raise red flags during inspections.
- Energy Efficiency Impact: Damaged roofing materials can affect insulation and increase cooling costs in hot Florida summers.
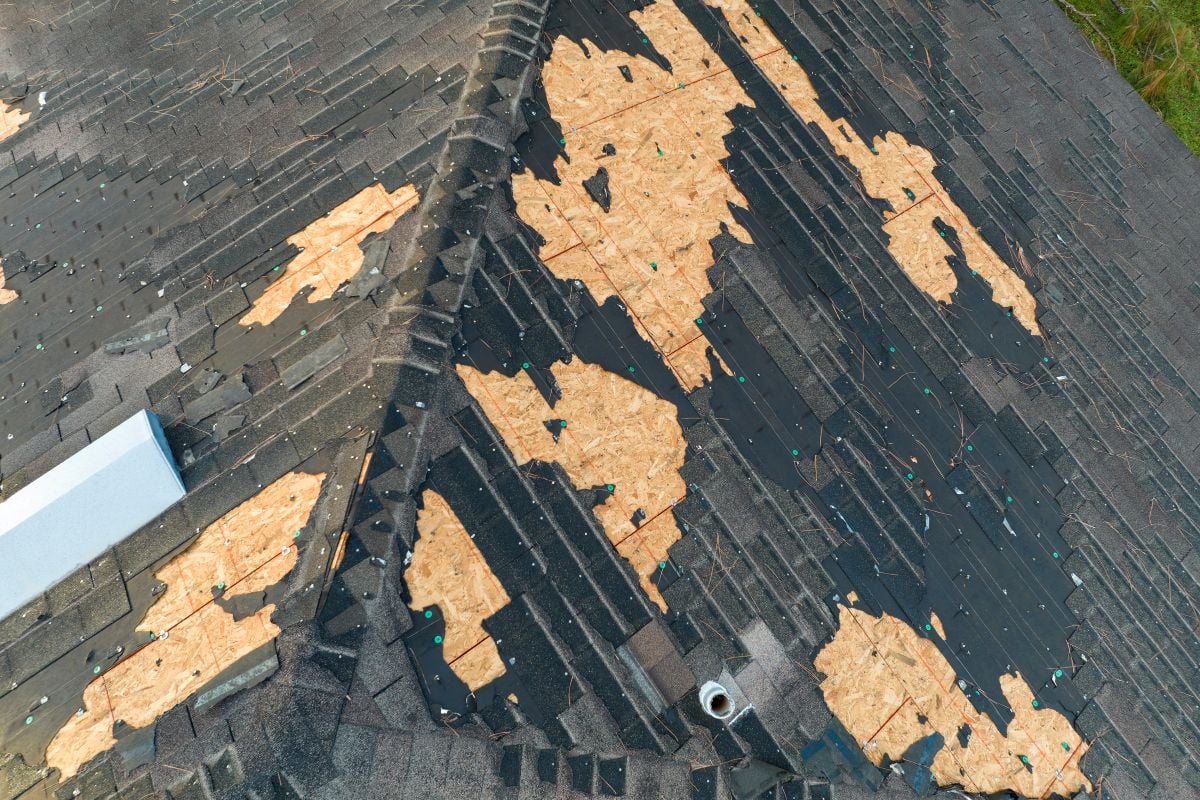
- Structural Integrity Risks: Ongoing leaks weaken the entire roof structure over time, potentially requiring a full replacement if left untreated.
7-Step Hail Damage Roof Repair Process
The right approach can make the repair process smooth and successful. Here’s a step-by-step guide to what typically happens after a storm.
1. Assess the Damage
Once the storm passes, walk around your home and visually inspect the roof and gutters from the ground. Use binoculars if necessary, and look for:
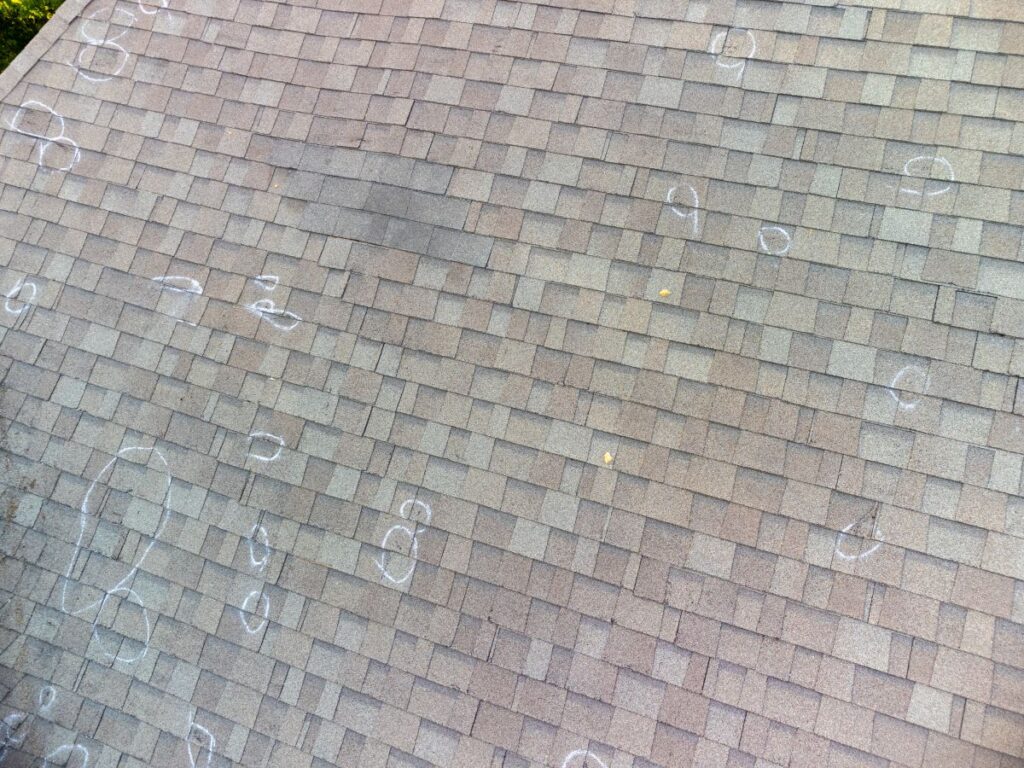
- Dark spots or bruises on shingles
- Granule loss (bald spots)
- Dented metal on flashing, vents, or gutters
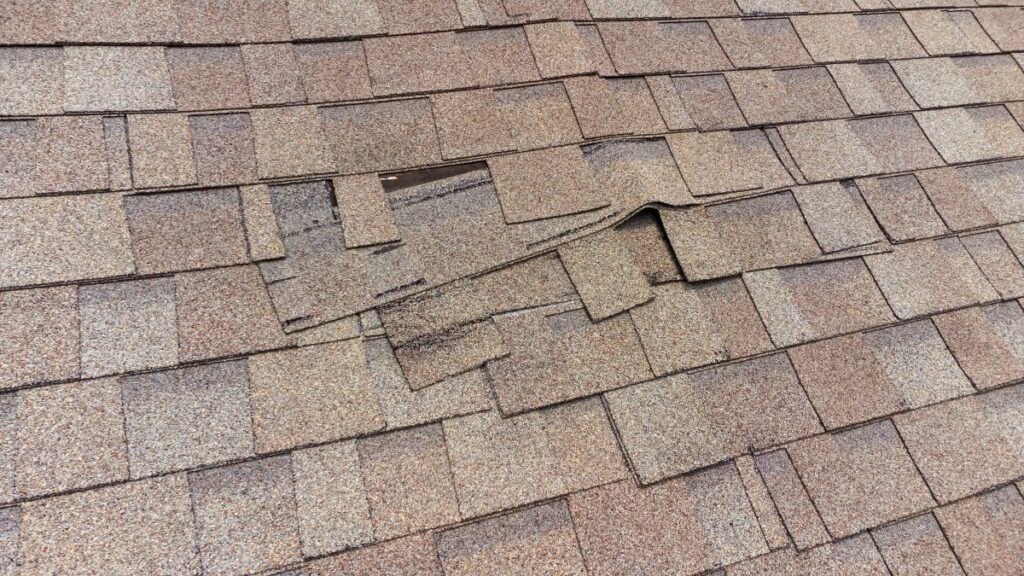
- Cracked, curled, or missing shingles
Avoid climbing on the roof—it’s safer to let a professional perform a close inspection.
2. Schedule a Professional Inspection
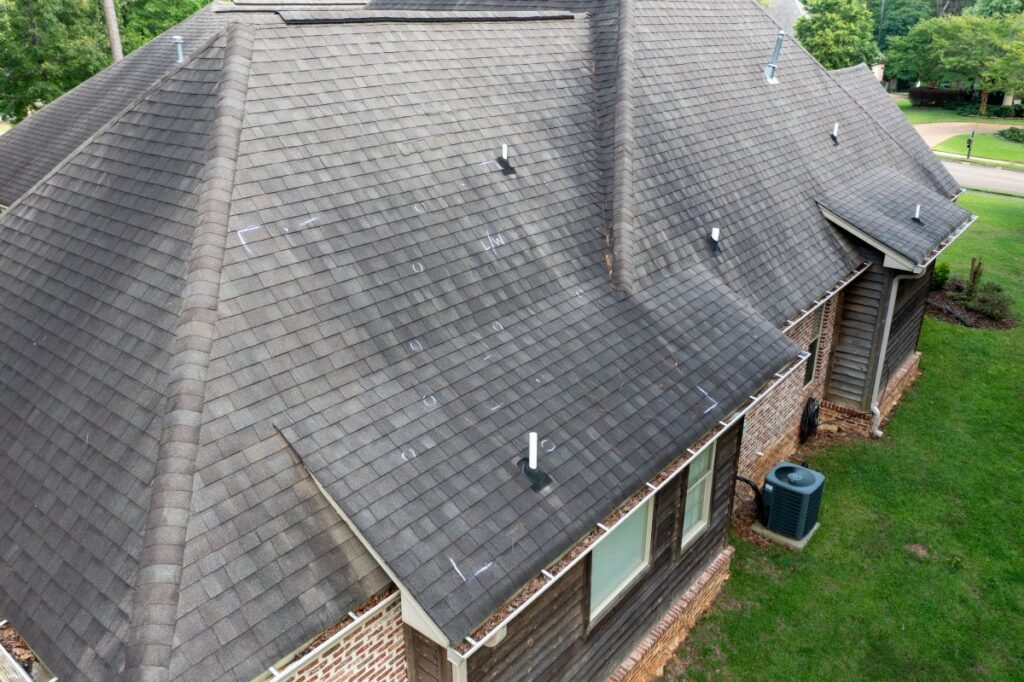
A licensed roofer will perform a detailed inspection to determine the extent of the hail damage.
- Photos will be taken for documentation
- Damage will be categorized by severity
- Additional structures (gutters, siding) will be checked
If you’re in Fort Pierce and surrounding areas, Roofing Pros USA can usually provide same-day or next-day inspections after major weather events.
3. File Your Insurance Claim
If the damage is significant, you’ll want to contact your homeowner’s insurance provider.
- File your claim as soon as possible
- Share the roofer’s documentation and estimate
- Ask about what’s covered (e.g., full roof replacement vs partial repair)
- Schedule an insurance adjuster inspection
Tip: It’s smart to have your roofing contractor present when the adjuster visits, so they can advocate for what needs to be repaired.
4. Review Your Repair Estimate
Once the claim is approved, your roofer will provide a detailed repair or replacement estimate.
- Material types and quantities
- Labor timeline
- Warranties and guarantees
- Scope of work broken down line by line
If you’re unsure whether repair or full replacement is better, ask about lifespan expectations of your current shingles and how widespread the damage is.
5. Begin the Repair Work
Roofing crews will schedule the project based on weather and materials availability.
- Safety measures and prep (tarps, dumpster)
- Damaged shingles removed
- Flashing and underlayment inspected
- New shingles installed to match existing color/style
This stage typically takes 1–3 days, depending on roof size and damage extent.
6. Final Inspection and Cleanup
After work is complete, your contractor will walk the property with you.
- Ensure no nails or debris are left behind
- Review completed work with a checklist
- Sign off on satisfaction and receive warranty info
A reputable contractor like Roofing Pros USA will never leave until the job site is spotless and the job meets your expectations.
7. Update Insurance (If Applicable)
If your insurance policy requires it, you may need to submit proof of completion.
- Send in final invoice
- Share warranty documentation
- Request a premium reevaluation (some companies offer discounts for new roofs)
How to Spot the Signs of Hail Damage (Even Months Later)
If you missed the damage right after the storm, don’t worry. Hail damage isn’t always obvious right away. Here are some indicators to check for:
- Water stains on ceilings or walls
- Musty odors in the attic
- Peeling paint near roofline or gutters
- Spike in energy bills due to poor insulation
- Loose granules in gutters or downspouts
These signs may show up weeks or even months later, especially in areas like Fort Pierce and surrounding areas where storms hit hard but dry weather follows.
Repair or Replace? Making the Right Call
One of the biggest questions homeowners face is whether a damaged roof needs full replacement or just spot repairs. Here’s how to evaluate.
| Factor | Repair | Replacement |
| Damage Area | Less than 25% of total roof | More than 25% or scattered damage |
| Shingle Age | Less than 10 years | Nearing end of lifespan (15–20 years) |
| Insurance Coverage | Covers partial repair | Full replacement often fully covered |
| Matching Materials | Easy to match color and type | Difficult to match due to weathering |
| Long-Term Value | Lower upfront cost | Higher ROI and resale value |
Still unsure? Get a professional second opinion. It’s worth it to avoid patch jobs that won’t hold up to the next storm.
Choosing the Right Contractor for Hail Repairs
Storm-chasing companies often pop up after hailstorms, offering cheap fixes. Here’s how to find a contractor you can trust.
- Local Presence: Choose a company with a physical presence in Florida, not a temporary out-of-state crew.
- Insurance and Licenses: Verify that they’re fully insured and state licensed.
- Experience with Claims: Contractors who work with insurance companies regularly know how to document and negotiate effectively.
- Written Warranty: Make sure labor and materials are both covered.
- Customer Reviews: Check local reviews and ask for references. Good companies have nothing to hide.
For Fort Pierce and surrounding areas, Roofing Pros USA is known for honest pricing, same-day inspections, and quality storm repair work.
Don’t Wait on Hail Damage—Act Fast and Protect Your Home
Hailstorms can be unpredictable, but your response doesn’t have to be. If your roof has suffered recent damage or you suspect signs of wear, fast action could prevent thousands in future repairs. With the right process, a trusted contractor, and clear insurance documentation, your home can be restored with minimal stress. If you’re ready to move forward or want a professional inspection, contact us today to schedule your hail damage roof repair. Roofing Pros USA is here to help you protect your home—rain or shine.
