Choosing the right roofing material is crucial for the durability and aesthetic of your home, which is why understanding how to install architectural shingles is valuable for any homeowner or roofing professional. Architectural shingles provide enhanced protection and a stylish appearance that enhances curb appeal. For those interested in professional-quality results, exploring services related to residential roofing can provide guidance and assistance throughout the installation process.
- Learn the essential tools and materials required for installation.
- Understand the step-by-step process to correctly install architectural shingles.
- Discover safety tips and best practices for roofing work.
- Explore common challenges and how to overcome them during installation.
- Gain insight into maintaining and prolonging the life of your shingle roof.
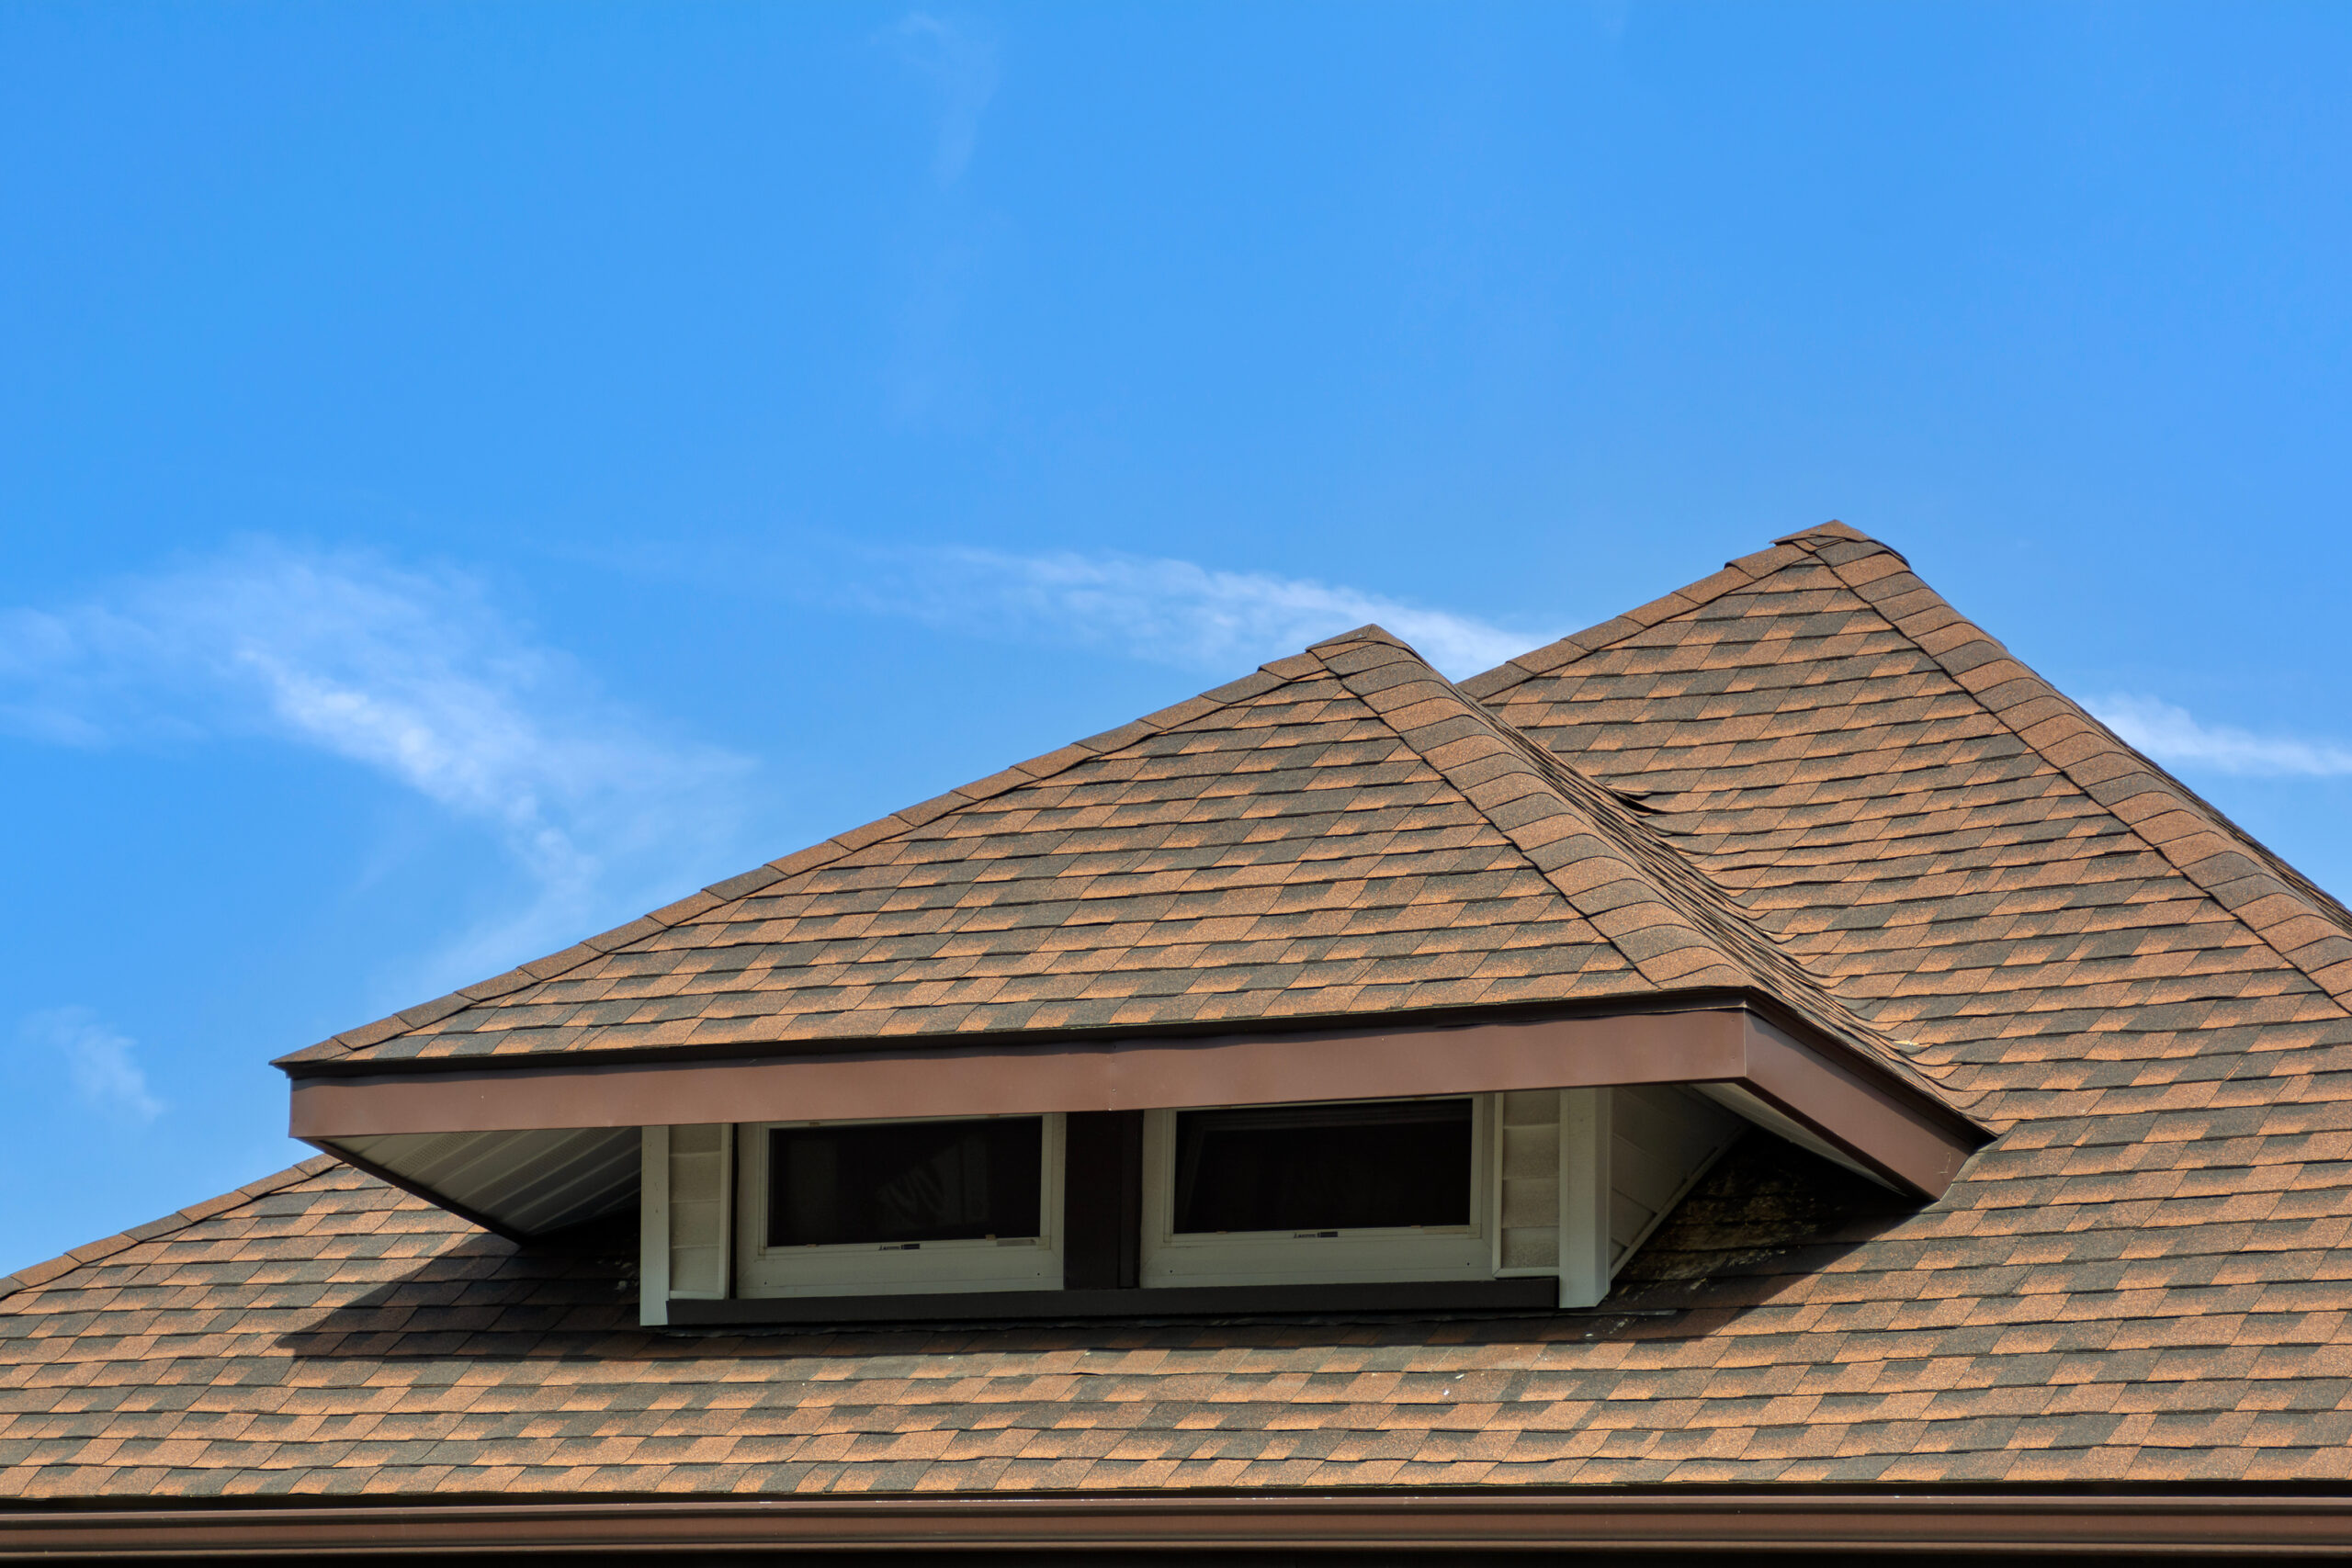
Why Installing Architectural Shingles Properly Matters
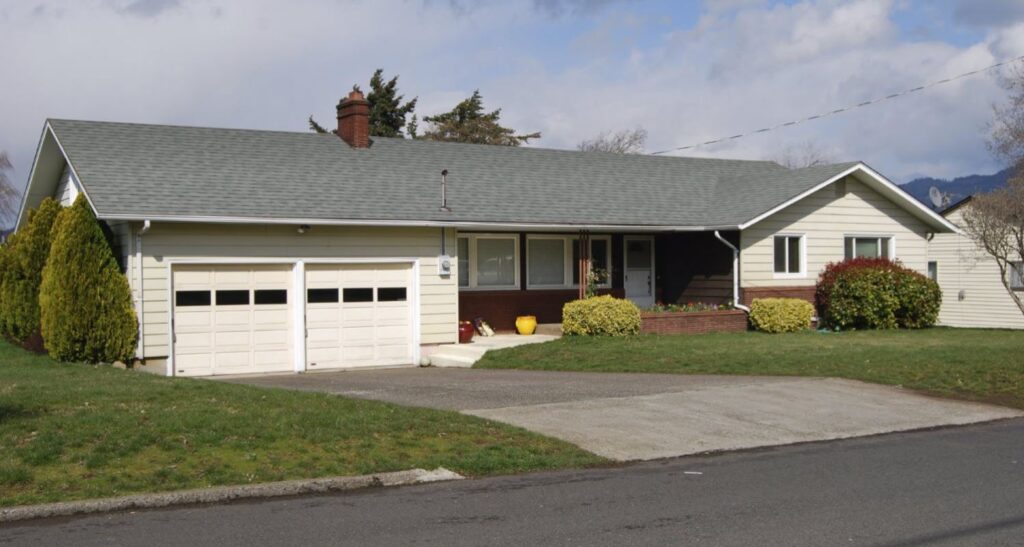
Correct installation of architectural shingles is key to ensuring your roof performs well over time. A well-installed roof prevents leaks, withstands weather extremes, and increases property value. Improper installation, on the other hand, can cause premature shingle failure, water damage, and costly repairs. Understanding the process and technical details can make a significant difference in the longevity and appearance of your roof.
- Durability: Proper installation helps shingles resist wind, rain, and temperature changes.
- Protection: Seals and overlaps prevent water infiltration and damage beneath the roofing material.
- Warranty Compliance: Most manufacturers require correct installation to uphold warranties.
- Aesthetic Appeal: Consistent alignment and pattern enhance the visual attractiveness of your home.
- Long-Term Savings: Avoiding installation errors reduces future repair or replacement costs.
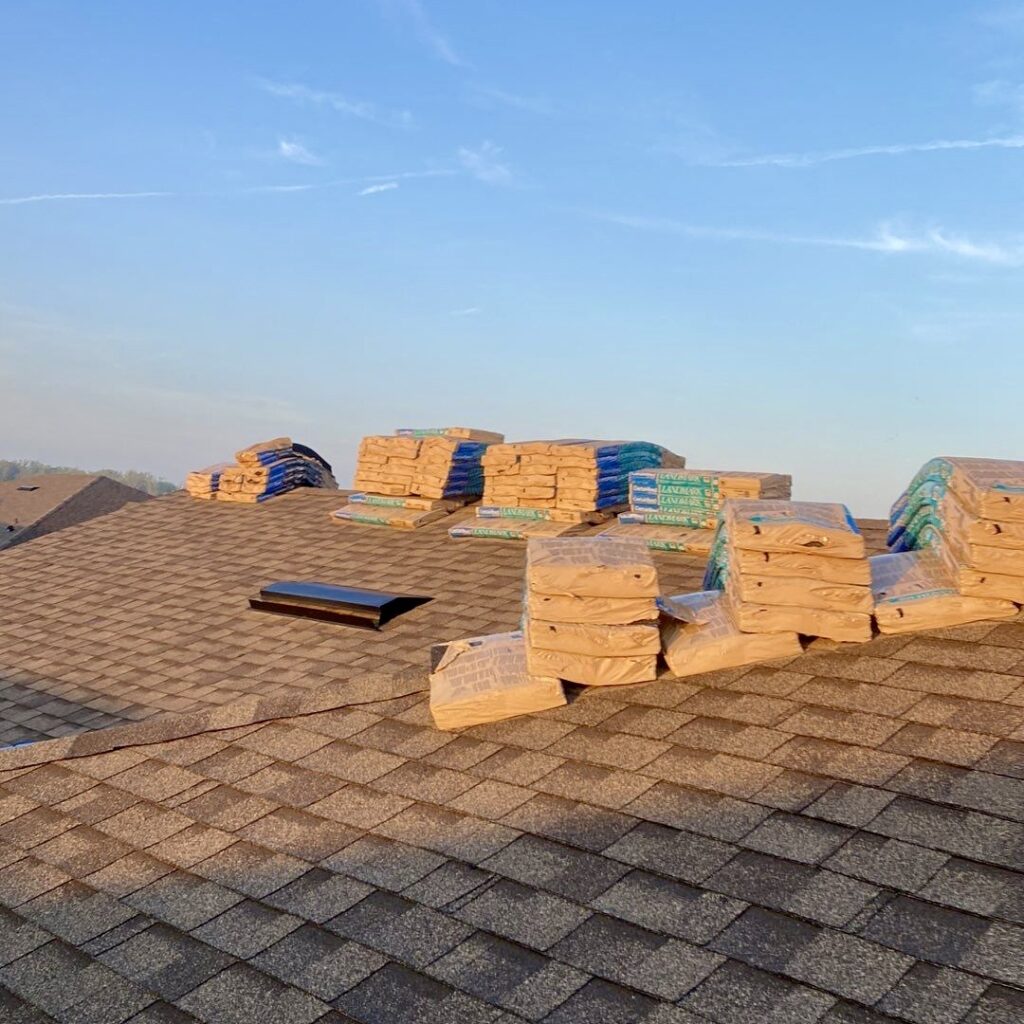
7 Essential Steps to Installing Architectural Shingles
Installing architectural shingles involves a precise sequence of actions to ensure quality and durability. Follow these seven key steps carefully before starting your roofing project.
1. Prepare the Roof Surface
Begin with a clean, dry, and structurally sound roof deck. Remove any old roofing materials, nails, or debris. Inspect the decking for rot or damage and replace any compromised sections.
- Cleaning: Sweep the surface to ensure no nails or debris will interfere with installation.
- Inspection: Confirm that the plywood or OSB decking is secure and free of defects.
2. Install Underlayment
Underlayment acts as a water-resistant barrier between the roof deck and shingles. Place a high-quality roofing felt or synthetic underlayment over the deck beginning at the eaves and overlap in layers towards the ridge.
- Overlap: Ensure each layer overlaps by at least 2 inches.
- Secure: Use roofing nails to fasten the underlayment without wrinkles.
3. Apply Drip Edge and Flashing
Metal drip edges should be installed along eaves and rakes to effectively direct water off the roof. Flashing is essential around chimneys, vents, and valleys to prevent leaks at vulnerable areas.
- Drip Edge: Nail this metal strip neatly to protect edges from water damage.
- Flashing: Seal areas around roof protrusions with appropriate flashing materials.
4. Lay Starter Shingles
Starter shingles create a secure first row along the eaves, enhancing wind resistance and ensuring proper shingle alignment.
- Installation: Position starter shingles with the adhesive strip closest to the eaves.
- Overlap: Maintain proper overlap to prevent water ingress.
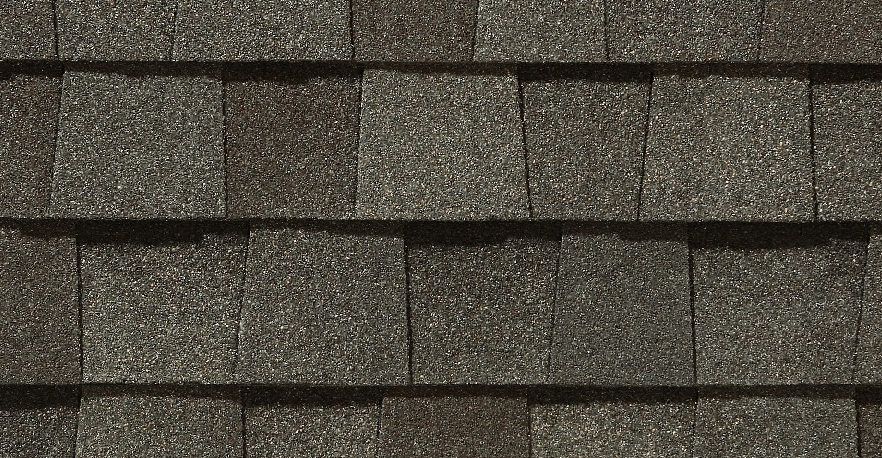
5. Install Architectural Shingles
Place each shingle with care beginning at the lowest edge of the roof. Pay attention to spacing and pattern; stagger joints for maximum strength and appearance.
- Nailing: Use the recommended number of nails per shingle, usually four to six nails.
- Alignment: Keep shingles straight and consistent across the roof surface.
- Cutting: Trim shingles as needed to fit edges and corners.
6. Install Ridge Cap Shingles
Finish ridge lines with cap shingles designed for this purpose. These protect the highest roof areas from weather damage.
- Cutting: Use overlapped cuts for neat appearance and weather protection.
- Nailing: Secure each cap shingle firmly, commonly using two nails at the back edge.
7. Clean Up and Inspect
Once installation is complete, thoroughly remove debris and loose nails from the roof and surrounding areas. Conduct a careful inspection to ensure no gaps, loose shingles, or potential problem spots remain.
- Inspection: Check all fasteners are secure and all shingles are properly adhered.
- Safety: Ensure no hazards remain that might cause injury or property damage.
Common Challenges When Installing Architectural Shingles
Even experienced individuals encounter issues during shingle installation. Understanding typical challenges helps you prepare and reduce risks.
Handling Roof Deck Irregularities
Uneven or warped decking can cause wrinkles and gaps in shingles, diminishing protection. Address by replacing damaged decking or filling gaps before shingle application.
Weather Constraints
Extreme heat, cold, or moisture can affect adhesive bonding and nail holding power. Plan installation during moderate, dry weather conditions to optimize results.
Proper Ventilation Importance
Inadequate roof ventilation leads to moisture buildup, shortening shingle lifespan. Ensure vents and air flow pathways are correctly installed and unobstructed.
Maintaining Shingle Alignment
Misaligned shingles can reduce wind resistance and invite leaks. Frequently check horizontal and vertical spacing for consistent pattern adherence.
Advanced Tips for Enhancing Your Architectural Shingle Roof
Beyond basic installation, consider these strategies to optimize your roofing system’s performance and longevity.
Use High-Quality Sealants
Apply premium roofing sealants at flashing edges and nail heads to bolster waterproofing.
Incorporate Ice and Water Shield Membranes
Place these underlayment sheets in valleys and eaves to provide extra protection against ice dams and water infiltration.
Regular Roof Inspections
Schedule biannual inspections, especially after storms, to identify and correct minor issues before they escalate.
Professional Installation Assistance
When in doubt, consulting experienced roofing professionals can save time, enhance safety, and ensure code compliance.
Frequently Asked Questions About Architectural Shingle Installation
Many homeowners have similar questions when considering a roofing upgrade. Here are clear answers to common inquiries.
- How long does it take to install architectural shingles? Installation typically takes 1 to 3 days depending on roof size, weather, and crew experience.
- Can architectural shingles be installed over existing shingles? Yes, but only if local codes permit and the roof structure can support the additional weight.
- What tools are needed for installation? Essential tools include a roofing hammer or nail gun, utility knife, chalk line, measuring tape, ladder, and safety gear.
- What is the lifespan of architectural shingles? With proper installation and maintenance, they can last 30 to 50 years.
- Are architectural shingles more expensive than 3-tab shingles? Yes, they are typically more costly upfront, but their durability and appearance provide better long-term value.
Get Started with Your Architectural Shingle Installation Project
Understanding how to install architectural shingles equips you to safeguard your home’s integrity and boost its appearance. Whether embarking on a DIY project or seeking professional assistance, proper installation is the foundation of a roof that stands the test of time. For expert help and trusted service, contact us today at Roofing Pros to discuss your roofing needs in detail and schedule a consultation. Roofing Pros is proud to serve both new and experienced homeowners in quality roofing solutions.
