
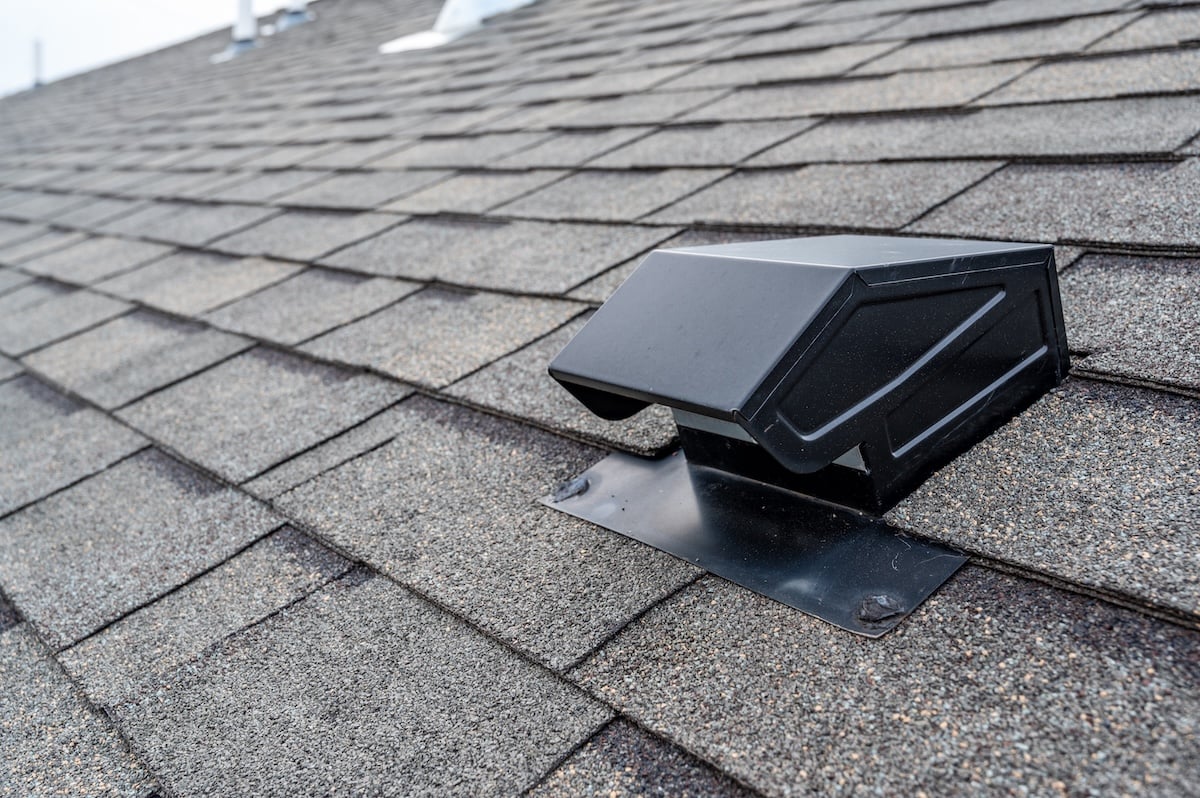
Proper attic ventilation is one of the most overlooked yet essential parts of a healthy roofing system. Without the right airflow, heat and moisture can build up, leading to higher energy bills, roof damage, and even mold growth. That’s where roof vent installation comes in. By ensuring your attic has a balance of intake and exhaust vents, you can extend the life of your roof, protect your home’s structure, and make your living spaces more comfortable year-round.
If you’re planning a roofing upgrade or replacement, you can find out more about professional services by visiting the roofing page.
Here’s what you’ll learn in this guide:
- Why attic and roof ventilation is critical for your home’s health
- A step-by-step breakdown of the installation process
- Common types of roof vents and their advantages
- Mistakes to avoid during installation
- How professional contractors ensure proper ventilation
Why Roof Ventilation Matters
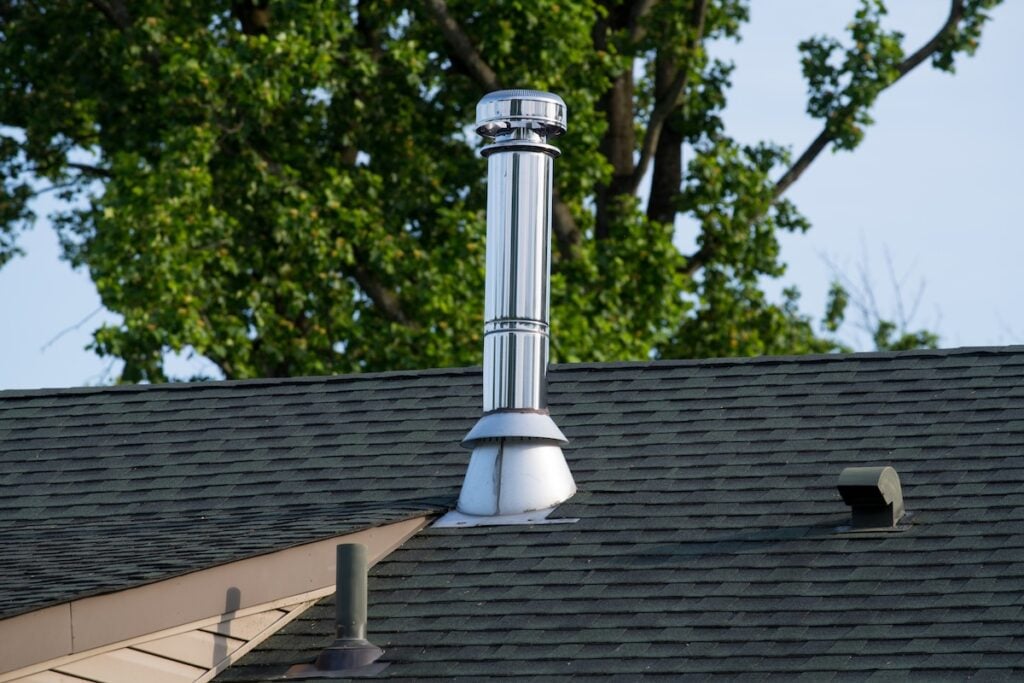
The right ventilation system is just as important as the shingles or underlayment on your roof. It creates airflow that helps regulate temperature, manage moisture, and protect the structural integrity of your home.
Here are the biggest reasons ventilation matters:
- Prevents Heat Buildup: In Florida’s climate, attic spaces can reach 150°F or higher. Proper venting releases trapped heat, keeping your home cooler.
- Protects Against Moisture Damage: Moisture from daily activities like cooking, showering, and laundry can rise into the attic. Without vents, it condenses and causes wood rot or mold.
- Extends Roof Lifespan: Heat and moisture accelerate shingle deterioration. Adequate ventilation helps your roof last longer.
- Improves Energy Efficiency: Balanced airflow reduces strain on HVAC systems, lowering energy bills.
- Supports Indoor Comfort: Even temperatures across your home mean fewer hot or cold spots.
In places like Tampa and surrounding areas, where heat and storms are frequent, ventilation is not just a recommendation—it’s essential.
7 Steps to Proper Roof Vent Installation
Installing roof vents involves more than cutting holes and adding hardware. It requires planning, precise execution, and an understanding of airflow dynamics. Below is a seven-step process that professional roofers follow.
1. Assess Ventilation Needs
Every home is different, and the amount of ventilation required depends on attic size, roof design, and local building codes.
- Calculate square footage of the attic floor space.
- Follow the 1:300 rule: one square foot of ventilation per 300 square feet of attic space.
- Ensure a balance between intake (soffit vents) and exhaust (ridge or box vents).
2. Choose the Right Vent Type
There are several types of roof vents, each with unique advantages. Contractors select the option that best suits your roof design.
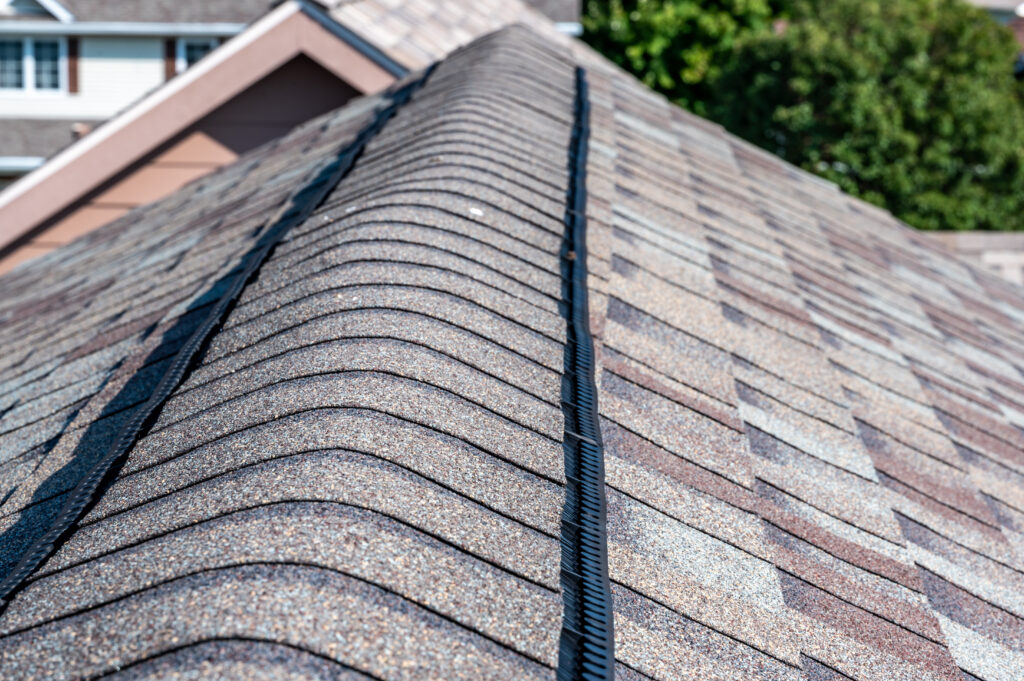
- Ridge Vents: Installed along the peak of the roof for consistent airflow.
- Box Vents (Static Vents): Simple and affordable, ideal for smaller attics.
- Powered Vents: Use electricity or solar power to actively move air.
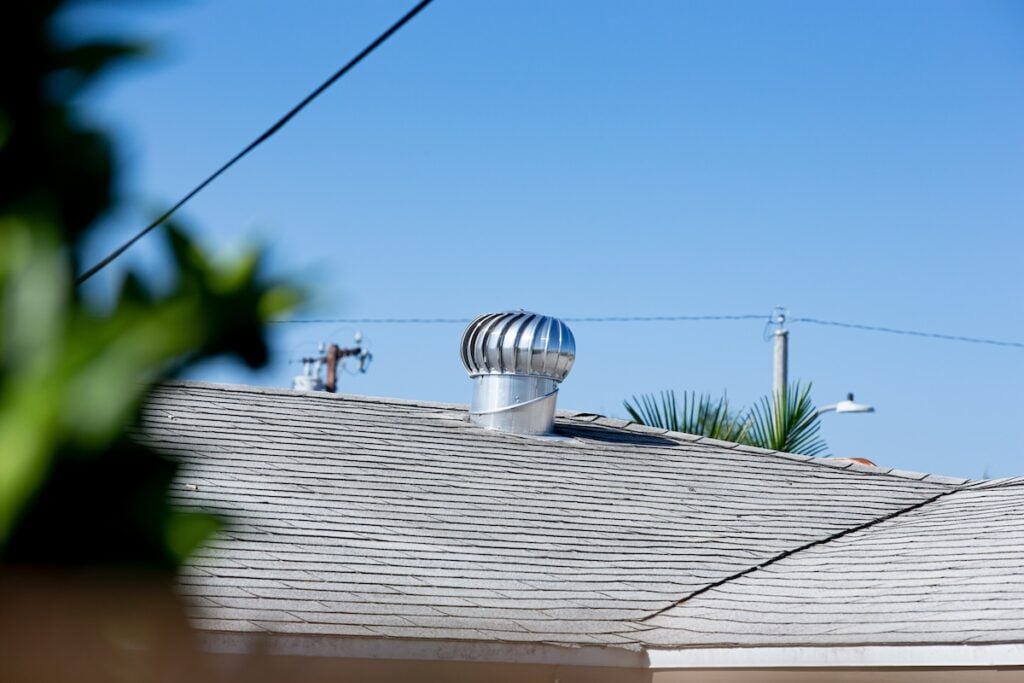
- Turbine Vents: Wind-powered systems that spin to draw out hot air.
3. Mark Vent Locations
Placement matters as much as the number of vents. Professionals carefully mark locations to ensure balanced airflow.
- Ridge vents run the length of the roof peak.
- Box vents should be spaced evenly across the roof.
- Avoid placing vents too close together, which reduces efficiency.
4. Cut Vent Openings
Contractors use saws to cut precise openings in the roof deck where vents will be installed.
- Openings must match manufacturer specifications.
- Proper safety precautions are critical during cutting.
- Deck edges are sealed to prevent leaks.
5. Install Flashing and Vents
Flashing prevents water infiltration around the vent openings. Vents are then secured using nails or screws.
- Ridge vents include cap shingles to create a seamless look.
- Box and turbine vents are sealed tightly against the roof surface.
- All seams are treated with roofing cement or sealant.
6. Ensure Balanced Intake
Exhaust vents won’t work without sufficient intake at the soffits. Professionals inspect soffit vents and add more if needed.
- Adequate intake ensures air flows evenly through the attic.
- Without intake vents, exhaust systems can draw air from inside the home instead of the attic.
7. Inspect and Test Airflow
The final step is verifying the system works as intended.
- Contractors check for proper airflow using smoke tests or digital meters.
- Attic temperatures are monitored to ensure balance.
- Homeowners receive guidance on keeping vents clear of insulation or debris.
Types of Roof Vents Explained
Not all roof vents are created equal. Understanding the differences helps homeowners feel confident in their choices.
- Ridge Vents: Popular for their low-profile design and effectiveness. They provide continuous exhaust along the roof’s peak.
- Box Vents: Affordable and straightforward but less efficient than ridge vents. Best used in combination with multiple units.
- Turbine Vents: Effective in windy areas but less reliable on calm days. Require maintenance to prevent squeaking or rust.
- Powered Vents: Provide strong ventilation but increase energy use. Solar-powered options reduce this drawback.
The choice often depends on roof style, attic size, and climate. For example, in Miami and surrounding areas, ridge vents are often paired with soffit vents to combat extreme heat and humidity.
Common Mistakes in Roof Vent Installation
Improper installation can cause more harm than good. Here are mistakes to avoid:
- Over-Ventilation: Too many vents can create air short-circuiting, reducing efficiency.
- Unbalanced Intake and Exhaust: Without balance, ventilation fails to work properly.
- Poor Sealing: Gaps around vents invite leaks and water damage.
- Wrong Placement: Vents too close together or too far apart compromise airflow.
- DIY Attempts Without Knowledge: Roofing safety and precision are critical. Mistakes can void warranties and cause costly repairs.
By working with licensed professionals, homeowners in areas like St. Petersburg and surrounding areas avoid these pitfalls.
Comparing Ventilation Options
Here’s a quick comparison to help visualize the strengths and weaknesses of common vent types:
| Vent Type | Cost | Efficiency | Lifespan | Best For |
| Ridge Vent | Moderate | High | 20–30 years | Large attics, pitched roofs |
| Box Vent | Low | Moderate | 15–20 years | Small attics, budget projects |
| Turbine Vent | Low–Moderate | Variable | 15–20 years | Windy climates |
| Powered Vent | High | Very High | 10–15 years | Large homes, hot climates |
This comparison shows why professionals often recommend ridge vents as the most effective all-around solution. However, every home’s needs differ.
Maintaining Roof Vents
Even after installation, roof vents require occasional attention.
- Keep Vents Clear: Ensure soffit vents aren’t blocked by insulation.
- Inspect After Storms: High winds in Port St. Lucie and surrounding areas can damage vents or flashing.
- Clean Turbine Vents: Lubricate moving parts to prevent squeaking.
- Check for Leaks: Look inside the attic for water stains near vent openings.
- Schedule Professional Inspections: Annual checkups ensure your system remains efficient.
Proper maintenance ensures that vents continue to protect your home for decades.
Ready to Improve Your Home’s Ventilation?
Ventilation is more than an add-on—it’s a critical part of your roofing system. Proper roof vent installation protects against moisture damage, improves energy efficiency, and extends the life of your roof. Whether you’re replacing your entire roof or upgrading attic airflow, getting it right the first time saves money and stress.
If you’re ready to explore your options, contact us today for a complimentary evaluation. Our team serves homeowners in Lakeland and surrounding areas, providing expert advice, professional installation, and peace of mind that your roof will stand strong for years to come.
